Menopause Humorous Card - Whimsy Stamps
Hi and welcome to my page! Thank you so much for stopping by and checking out my blog! I hope you find some inspiration and I spark your creativity!
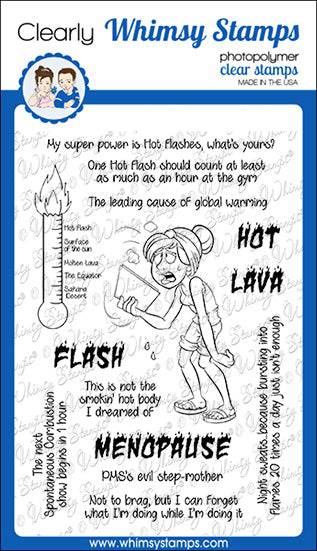
For today's card I will be using Whimsy Stamps products. This fun card is perfect for anyone who is going thru Menopause! If you know you know! So without further ado here is my card.

I've used several Whimsy Stamps products on this card and they are listed, with links, below.
When I'm using a stamp set that I'm going to color with my Copic's I do the coloring first. I also suggest you color her before you die cut her out. I have listed the Copic combinations I used here:
Skin - E0000 E00 E04 E11 E21
Cheeks - R22 R20 R30
Hair - E29 E25 E35 E51
Dark Pink - R59 RV34 R81
Jeans - B99 B97 B95 B91
Green - YG17 YG03
The paper in her hand is - E44 E43 E41 E40
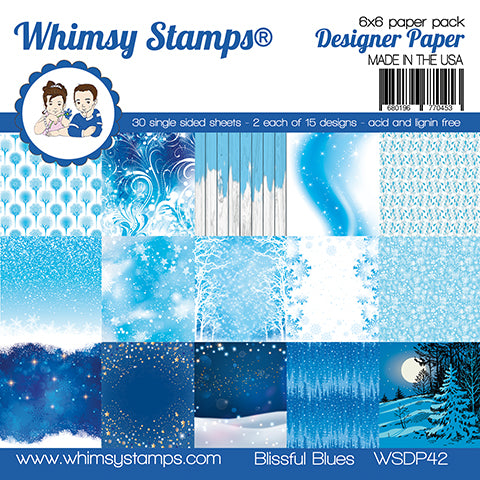
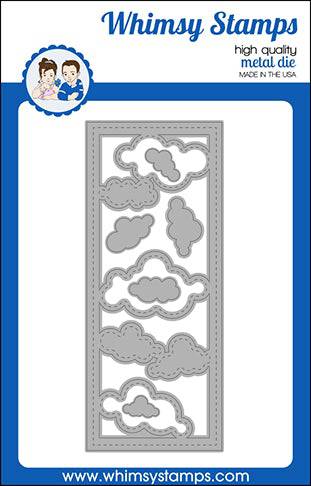
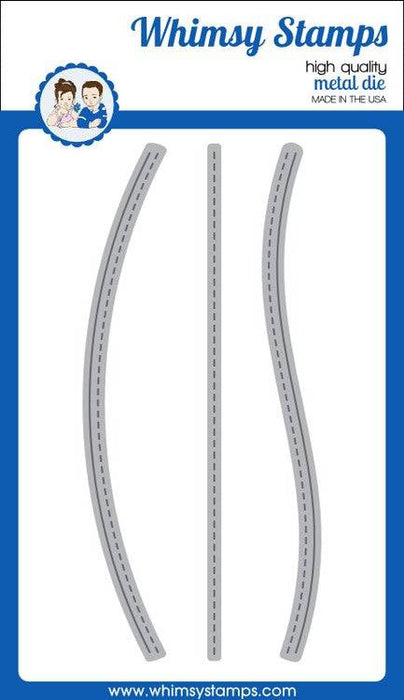
Now it's time to die cut her and die cut all of your other elements as well. I used the Menopause Outline Die to cut out my image. I also used the Slimline Clouds Die Set for the clouds. The Slimline Scenic Countryside Die for the houses and trees and the Stitched Border Trio Dies for the snow banks. For the sky I used a piece of patterned paper from the Blissful Blues 6x6 Paper Pack.
I cut a mat piece of 110 lb card stock at 4 1/8 x 5 3/8 to adhere my elements onto.
Using the piece of patterned paper from the Blissful Blues paper pack I cut out the part I wanted at 4 1/8 x 3 inches. I then adhered it to the mat piece.
I then adhered my snow banks to the mat. Make sure you only glue the bottom so you can tuck in your houses and trees. After I adhered them I flipped the mat piece over and cut off the excess.
Now position your die cut menopause lady where you will want her on the card. You can then adhere her and using your Copic's green combination color under her feet. Side note I was laughing so hard when I came up with the idea of the snow melting under her feet! I can totally relate to it!
Add your houses and trees with a little glue and tuck them behind your snow banks on your mat.
To make your card base take a 110 lb white card stock and on the 11 inch side of the card stock cut it at 5 1/2. This will give you to card bases. Then with your scoreboard lay your card stock on the 5 1/2 inch side and score at 2 3/4. Fold the card in half with the mountain side inside the card. This will give you an A2 card base.
Adhere your mat to your card base and your card is complete!
Well I hope I've inspired you to pull out your supplies and make this fun card. If you don't have the products I used and would like them I've listed them below with links to the Whimsy Stamps store.
Well that's it for me!
You can find me on
Facebook at Dawn G Designs
Instagram at DawnGDesigns
Pintrest at Dawn G Designs
Here is the Link to the Whimsy Stamps Inspiration page on Facebook. If you like, go and join so you can get tons of inspiration using Whimsy Stamps and Die's
Here is the link to the Whimsy Stamps Store.
Happy Crafting!


Comments
Post a Comment