Merry and Bright Christmas Card - Penguin Christmas Card - Whimsy Stamps
Hello Everyone and welcome to my blog! I hope you find some inspiration here. I love making cards and I like to share hints and tricks with you to use on your own cards.
Today I am showcasing a card made with Whimsy Stamps products. This fun card is a perfect to brighten someone's day.


The first thing I did was stamp on Copic safe paper with the Penguin Snow Days Stamp Set. I colored the penguins with my Copic Markers. I have listed the combinations below.
Black - 110 W8 W6 W4
White T5 T3 T1
Green - YG67 YG17 YG03
Red - V25 R35 RV14 RV23 RV21
Beak's - Y35
Cheeks - R30
After coloring the penguins I used the Penguin Snow Days Outline Dies to cut them out.
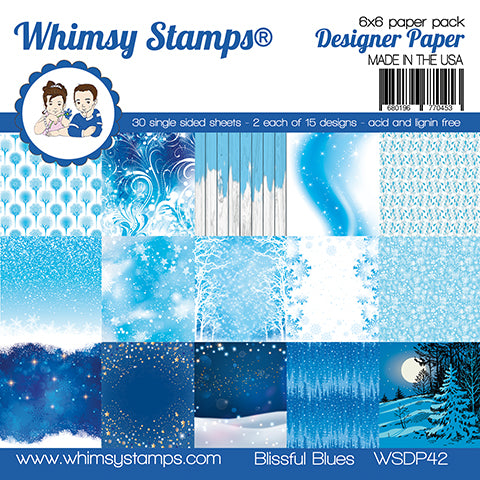
I then used the snowy hill stamp that comes with the Penguin Snow Days stamp set and stamped it on white card stock. I then added some YG03 to some of the pine needles that were sticking out to give them some color. I then cut it to size to fit on the bottom half of my card. For the top part I used a piece of Blissful Blues 6x6 Paper Pad. The size of the sky and snowy hills together should measure 4 x 5 1/4. Give yourself room for your sentiment if you are using the Merry & Bright Die Set. Place you die cut images where you want them and add some shadowed snow underneath of them as seen above. I used Copic markers B01 and B000. I popped up the penguins when I adhered them to the paper.
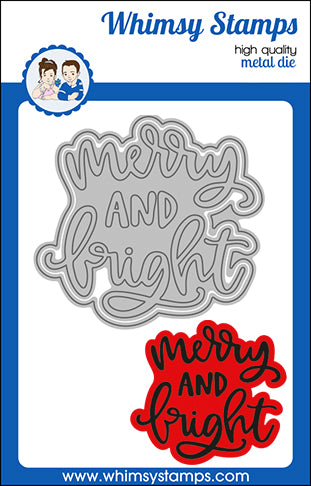
The die I used for the sentiment is called Merry and Bright Word & Shadow Die Set. I used mylar paper to cut out my sentiment. It's a lot shinier in person. I then used blue sparkle paper to cut out the shadow piece. I was going to skip this step but I was afraid the sentiment would get lost on the patterned card stock.
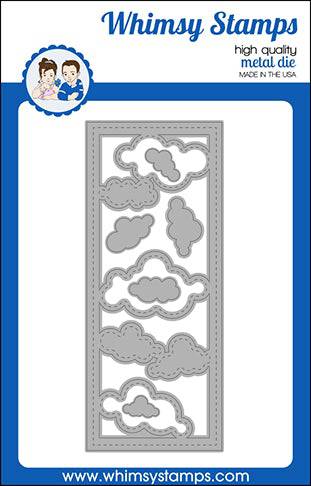
For the clouds I used the Slimline Clouds Die Set. This gave the sentiment some depth instead of looking flat.
For the mat I cut it at 4 1/8 x 5 3/8. To get the color to match I took Copic Marker RV23 and colored along the edge. This way the color matches the sled.
Now adhere your two pieces to an A2 card base and your card is complete!
I hope I've made putting this card together easy for you. I have added the products, with links, of what I used below.
Well that's it for me!

Comments
Post a Comment