Fall Card
Hello Everyone! Thank you so much for stopping by my blog! I hope you get some inspiration and pick up some new techniques.
This fall card using Rubbernecker dies has a lot of little details but that's what elevates your card making. A little more time spent on your cards changes everything. Of course I only send cards to people that I know won't throw them away, LOL!
Below you will find detailed instructions with pictures on how to recreate this card.

When I use colored card stock as my card base I decorate the inside with white card stock so that you have a place to write on.

The first thing that I always do is die cut all of my elements. I put them in piles on white card stock so I don't lose anything.


Now it's time to add all of those leaves to your tree base.
It's tweezer time. I slightly fold the leaf and add glue to the backside of the fold and attach it. I cut the leaves in different fall colors to give the tree dimension.


I took a white piece of card stock and added Moss stamp pad to lay down some color.

Add some Clover to give the grass some depth.

Take your grass die and cut out where you added color.

It's time for some clouds. Cut a white piece of card stock a 4 x 5 1/4. I use a magnetic board to hold my paper and the stencil down so it doesn't slip.
Using a blending brush and Sonata blue blend the edges of your Cloud Stencil. Work your way up from the bottom and rotating the stencil for every row.

Now using a different blending brush add some depth by adding Sierra, which is a deeper blue. Lay your Cloud stencil in between the lighter areas to get some dimension. Remember to rotate your stencil and work from the bottom up.

Using Pumpkin Color Fuse Ink go around the edges of your pumpkin to give them some life. This keeps them from looking flat on the card.

Using Pecan Color Fuse Ink add some depth to the tree trunk.

I added the Picket Fence Die Cut to give the card more dimension and interest. I just cut it out of brown card stock. For the sentiment I put the base onto my stamp press then put the tree where I wanted it. That way I could put the sentiment stamp in the clouds while still having room for my tree.

Now glue everything down. Don't forget to add some leaves to the grass and some blowing in the wind.
Pick a coordinating piece of card stock for your mat. I used the same colored card stock I used to cut out the yellow leaves with so it gave the card some cohesion.

Glue your mat and card panel together and add it to your card base. This is a 4 1/4 x 5 1/2 inch card. Now your done!

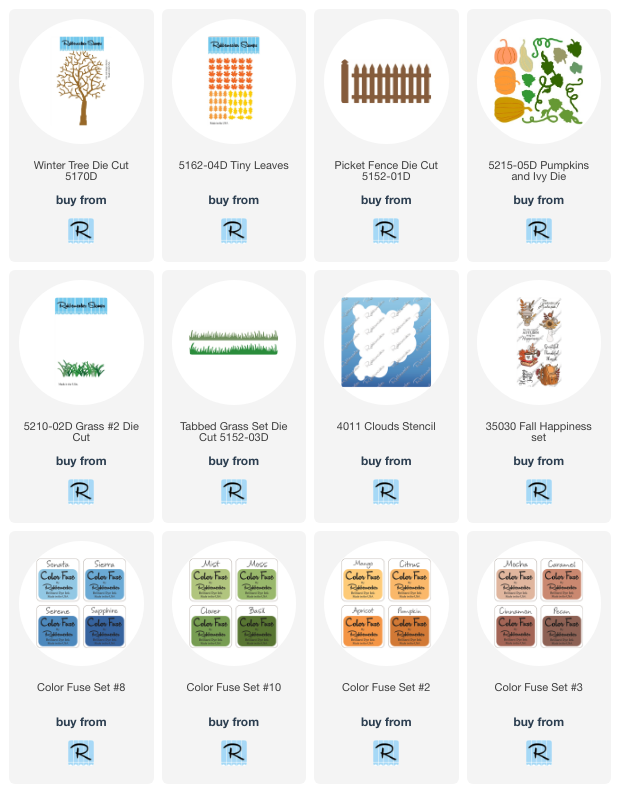
Listed below are the items I used from Rubbernecker Stamps store and below that you will find some of the items I use to make cards.
Below are links to my Social Media pages and links to Rubbernecker Stamps Facebook page and shop.
I'm on:
Facebook at Dawn G Designs
Instagram at DawnGDesigns
Pintrest at Dawn G Designs
Here is the Link to the Rubbernecker Stamps Fan Group page on Facebook.
Here is the link to the Rubbernecker Stamps Store.
Thank you so much for stopping by! I hope to catch you on my next post!
Crafty Hugs,Dawn


Comments
Post a Comment