Jack-o-Lanterns Halloween Card - Rubbernecker Stamps
Hello Everyone! Thank you so much for stopping by my blog! I hope you get some inspiration and pick up some new techniques.
Today we are making a cute Halloween card with pumpkins. The way to make your cards stand out is by adding lots of details like I did on this card.
Below you will find detailed instructions on how to recreate this card.


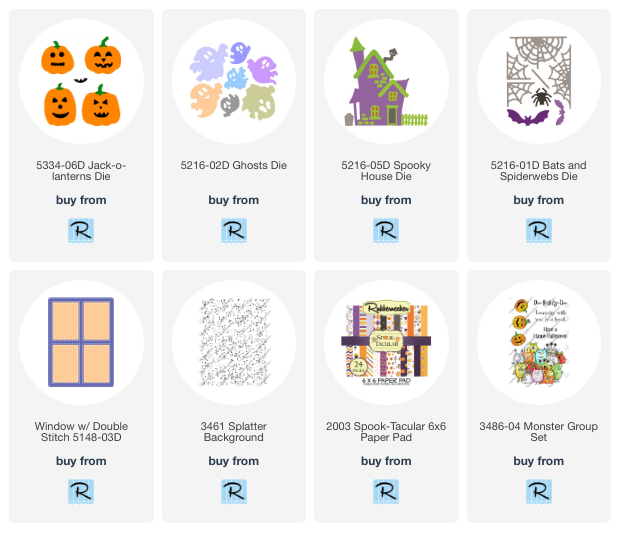
Die cut all of your pieces for your pumpkins. You can always use orange card stock to cut out your pumpkins but I colored mine with Copic markers.
I cut my pumpkin's with Copic safe paper so the markers would blend better.
To keep all of my pieces in one spot where I can see them I use a white piece of card stock and put the cut pieces on it.


For the pumpkins I used the following Copic markers
Pumpkins - B32 R27 YR07 YR04


Cut out your spiderwebs and ghosts. I used vellum for my ghosts to give them a wispy look.

Using your Window W/Stitch Die cut out a black piece for you frame and a purple piece for the windows.
Don't throw away your extra pieces as you can use them on another card.


I used the Splatter Background stamp and some grey ink and stamped on the purple windows to give them some more interest.

Now you get to see your card come together.
Layout all of your pieces where you want them. Now take a picture so when you move them to glue everything down you have the picture to remind you where everything goes.

Glue down your fences. For all of the pumpkins I popped them up with dimensional tape.

When you are adhering you vellum ghosts you are going to put a tiny drop of glue on the bottom and put it under your pumpkin. The glue will show thru the vellum so you will want to hide it.


Cut your patterned paper at 5 1/4 x 4 and your mat piece at 5 3/8 x 4 1/4. Use the same purple that you used for the window die to mat the patterned paper. I used 110lb black card stock for my card base.

Don't forget to decorate the inside of your card!

Adhere you card panel down and your are all finished!
Below are links to the products I used. Some of my links are affiliated.
I order all of my Copic's and Refills from
With every purchase Violeta-Ink gives a percentage to Crafty Paws.
Gemini Jr. Die Cutting Machine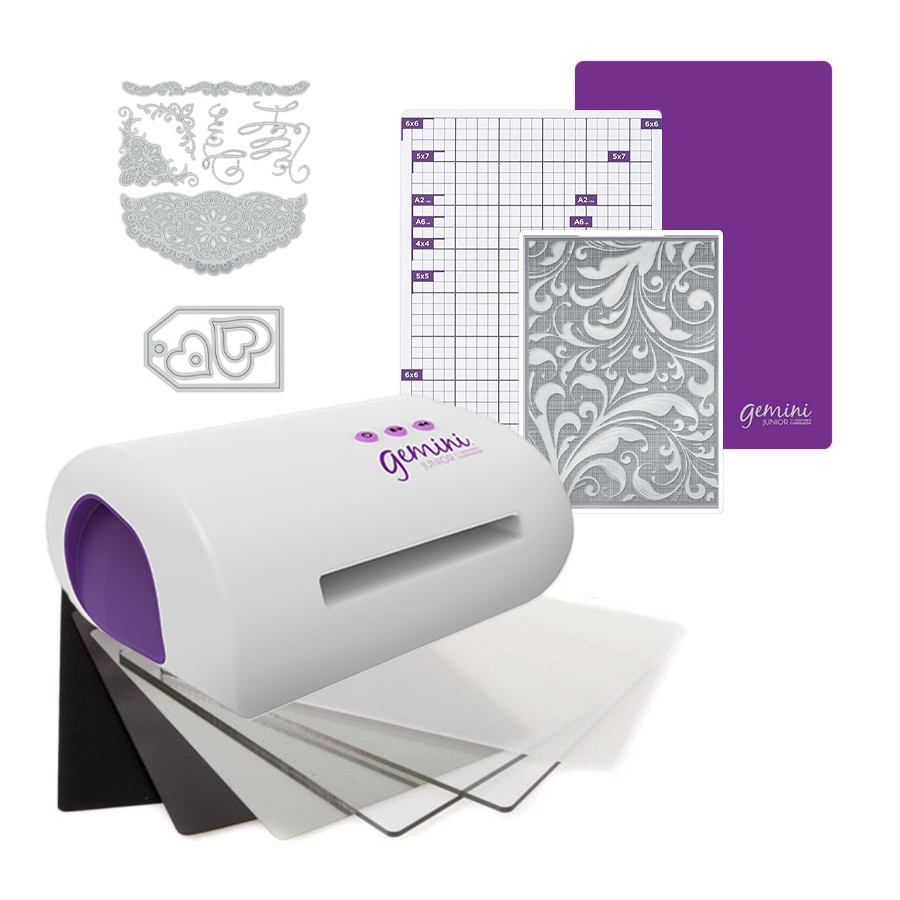


I used VersaFine Instant Dry Pigment Ink for my sentiment only. I always hit it with my heat gun for a second to make sure it's dry.
Tsukineko - VersFine Instant Dry Pigment Ink

I use Gina K Amalgam Ink for all of my other stamping. I also use the Gina K Amalgam ink for my Copic coloring.

Below are links to my Social Media pages and links to Rubbernecker Stamps Facebook page and shop.
I'm on:
Facebook at Dawn G Designs
Instagram at DawnGDesigns
Pintrest at Dawn G Designs
Here is the Link to the Rubbernecker Stamps Fan Group page on Facebook.
Here is the link to the Rubbernecker Stamps Store.
Thank you so much for stopping by! I hope to catch you on my next post!
Crafty Hugs,Dawn


Comments
Post a Comment