Hello Everyone! Thank you so much for stopping by my blog! I hope you get some inspiration and pick up some new techniques.
This cute Snowmen Set from Rubbernecker makes me smile every time I look at them! There smiles represent what a snowman should be like!
I have given you step by step instructions on how to recreate this card down below. Enjoy!
This is a 4 1/4 x 5 1/2 inch card.
The first thing I do is stamp out my images and color them. Here are the Copic Markers combinations I used.
White - C5 C3 C1 C00 and Colorless Blender 0
Orange - B01 YR07 YR04 Y35
Red - B63 R29 R27 R35 R24
Black - 100
After you're done coloring them use the coordinating die and cut them out. Just a tip I use Washi Tape to hold my dies in place over the images so the die doesn't move.
Next using the Window with the Stitch die, cut out a piece of coordinating colored card stock and save two of the rectangles.
With one of the green rectangles stamp your sentiment from the Merry Christmas Large/Small stamp set.
Using the same die, cut out a piece of patterned paper from the Snowflake Fun paper. You will only need the outline. Save the squares for a future project.
Using the same Window with the Stitch die, cut out a piece of patterned paper from the Winter Animals paper pack.
Next using the same Window with Stitch die cut out a piece of coordinating colored card stock and save two of the rectangles.
Using the Nested Rectangle Small Stitch die, cut out a piece of coordinating green of card stock using one of the frames that is slightly larger than the window frame.
Using the same Nested Rectangle Small Stitch die cut out the next larger die with the red card stock.
Now adhere them all together as shown above.
Then you can adhere your panel to your card base.
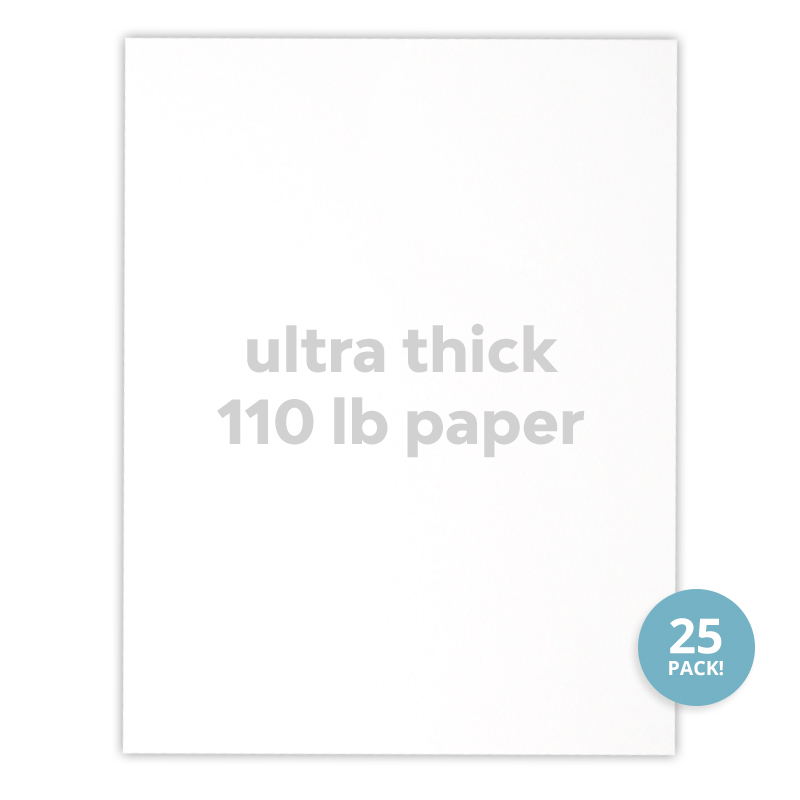
With the Winter Village die cut out the Evergreen Trees in white. I use a heavier card stock like 110 LB to cut out the trees to make them sturdy.
Using foam tape adhesive add a piece behind each of the snowmen.
Add your trees to the sentiment block. This gives the card more interest.
Now you have an adorable Christmas Card! It's not that hard to make a dimensional card when you break it down into sections.
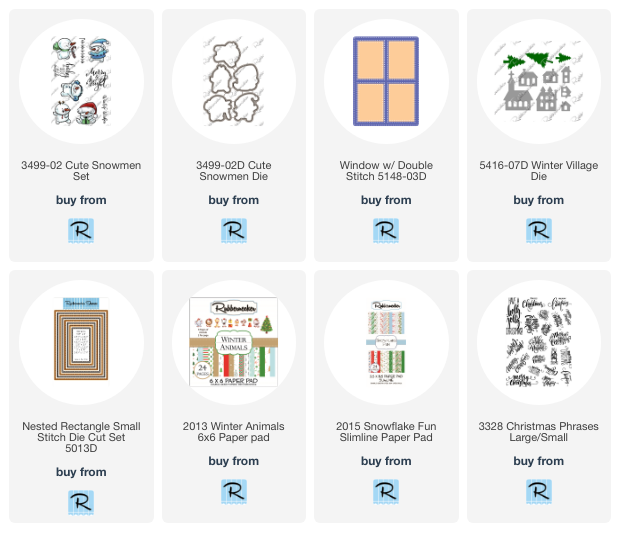
Here are the links to the products I used to make this fun card. Some of my links are affiliated. This is to help me to restock the basic card making supplies so that I can continue to make fun cards for you to recreate!
Below are links to my Social Media pages and links to Rubbernecker Stamps Facebook page and shop.
I'm on:
Instagram at DawnGDesigns
Thank you so much for stopping by! I hope to catch you on my next post!
Crafty Hugs,
Dawn


Comments
Post a Comment