Christmas Inchies - Rubbernecker Stamps - Slimline Christmas Card
Hello Everyone! Thank you so much for stopping by my blog! I hope you get some inspiration and pick up some new techniques.
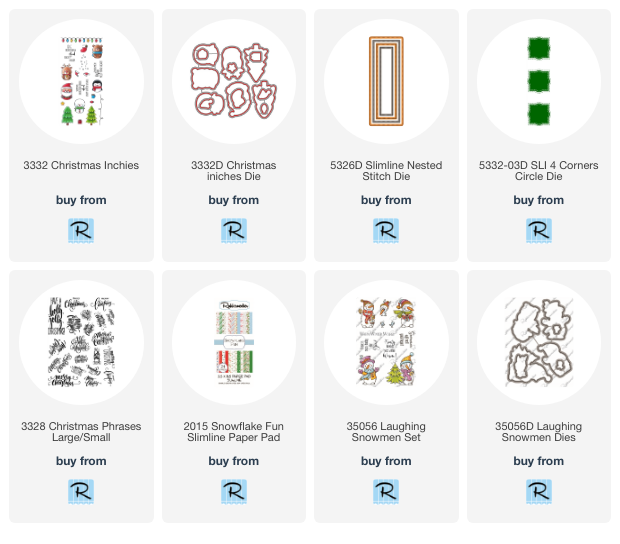
These adorable Christmas Inchies from Rubbernecker Stamps is the perfect set for a quick and easy card that looks like your spent hours on it.
I have given you detailed instructions on how to recreate this card below. Enjoy.


Listed below are the Copic combinations I used.
Santa
Red - B63 R29 R27 R35
White - W5 W3 W1
Skin - E000 E00 E04 E11 E21
Cheeks - R20 R30
Black - 100 N9 N7 N5
Penguin
Black - 100 W9 W7 W5 W2
White - W5 W3 W1 W00
Red -B63 R29 R27 R35
Reindeer
Body - E49 E47 E44 E43
Light Brown - E42 E41 E40
Bell - C5 C3 C1 C00
Red -B63 R29 R27 R35
Christmas Tree
Green - YG67 YG17 YG03
Star - V25 Y28 Y38 Y32

The take your SL1 4 Corner Circles Die and center it inside your Slimline Nested Stitch Die.

You will only be using one of the center cut pieces so put the rest away in a safe place for a future card.


Using a largest die from the Slimline Nested Stitch Die lay it down on the side of the paper that will be showing. This die has a lovely stitched look on it and you want it to show on your card.


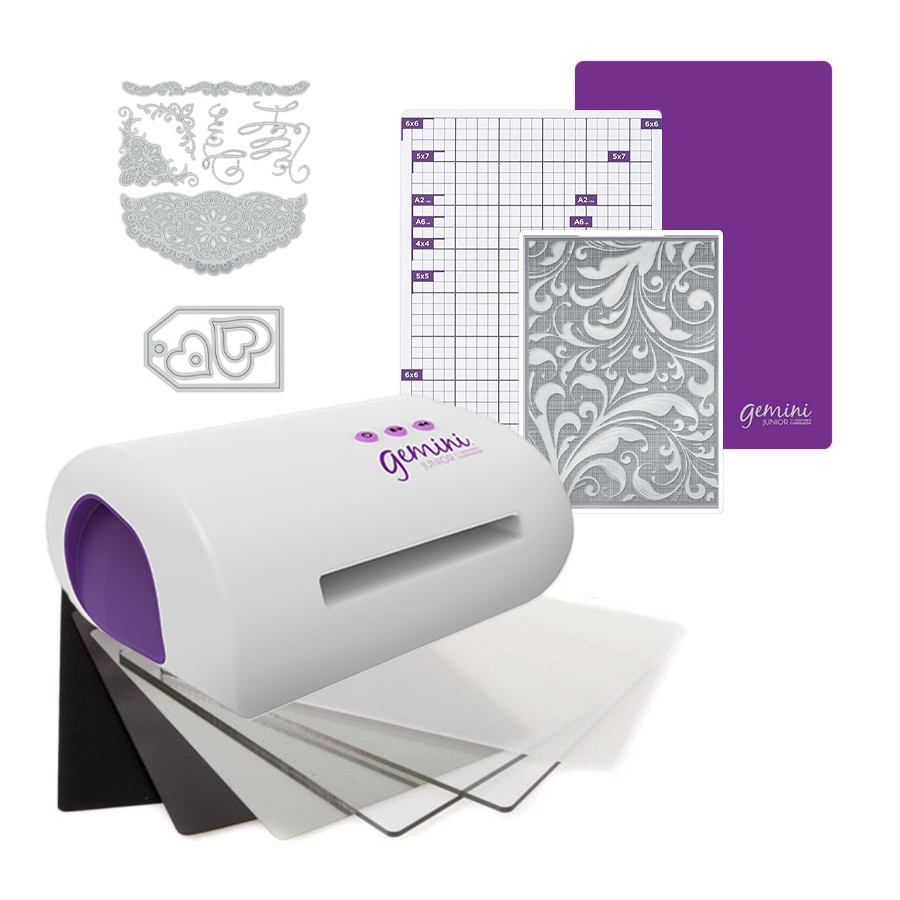
Die cut out all of your elements if you haven't done so already and adhere them to your card.
I added a little glue to the bottom of the Santa and the tree then added a small piece of foam adhesive to the top to get some dimension.
For the light bulbs I added a drop of glue and the bottom of the bulb and just slightly lifted the top of it to give it some dimension.


This is a slimline card so it measure 3 1/2 x 8 1/2
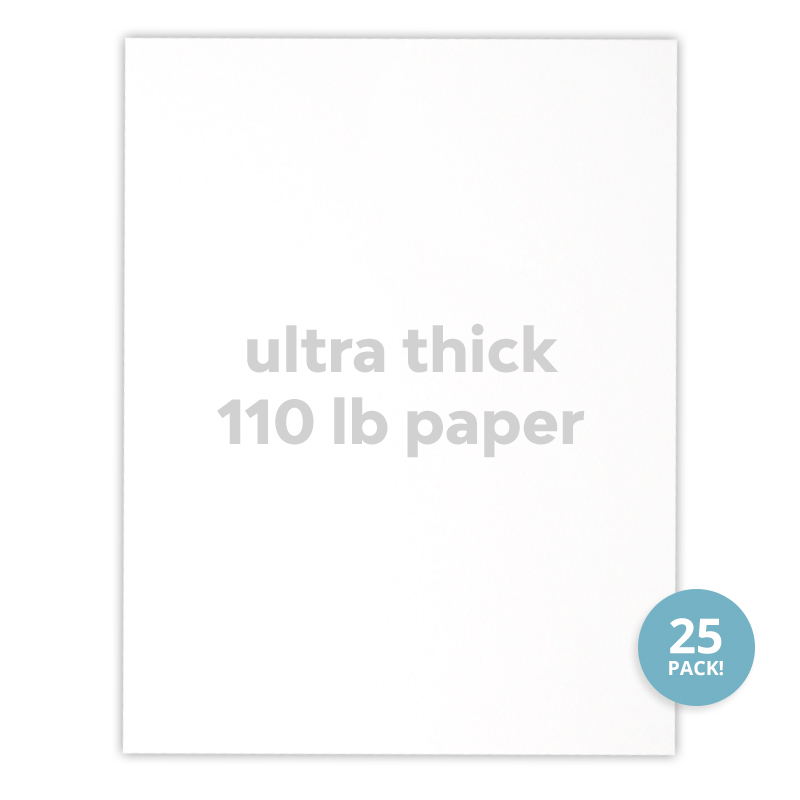
To get the base you will need an 8 1/2 x 11 sheet of 110lb card stock. Cut 7 inches on the 8 1/2 inch side and score at 3 1/2 to get your card base.
Now just adhere your completed panel onto your card base and your done!
Now you have an adorable Christmas Card! It's not that hard to make a dimensional card when you break it down into sections.
Here are the links to the products I used to make this fun card. Some of my links are affiliated. This is to help me to restock the basic card making supplies so that I can continue to make fun cards for you to recreate!


Thank you so much for stopping by! I hope to catch you on my next post!
Crafty Hugs,

Comments
Post a Comment