Reindeer Christmas Card - Rubbernecker Stamps
Hello Everyone!!! Thank you for stopping by my blog today! I'm so happy you're here! Below you will find everything you need to make this card!
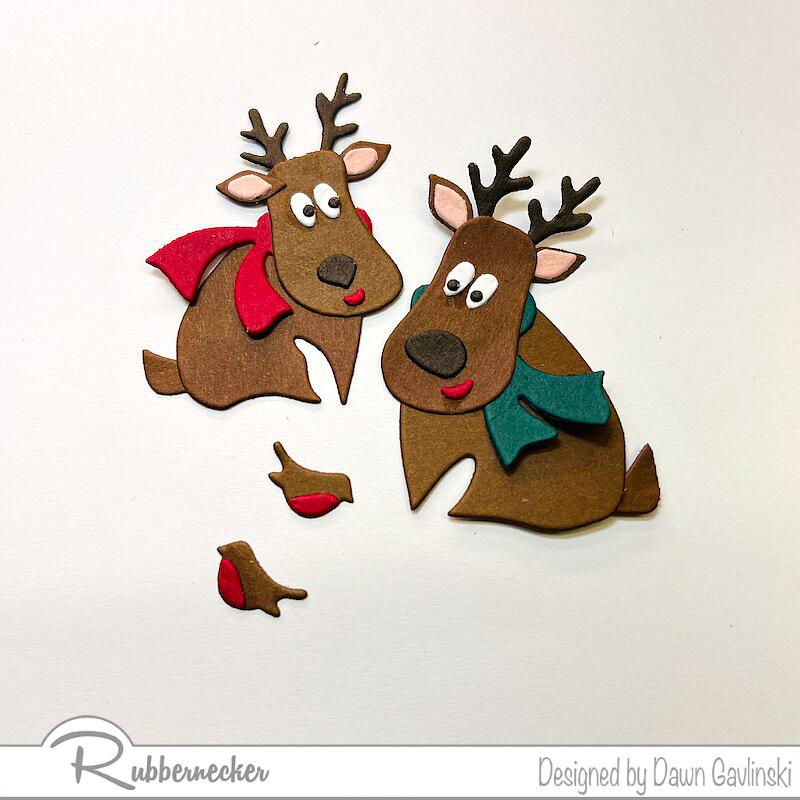
How adorable are these reindeer from Rubbenecker Stamps! I love them with the night sky behind them. It looks like they are waiting on Santa to hook them up to the sleigh!
Step by step instructions for this card can be found below.

This is the finished card for your reference.

Take the night sky piece of patterned paper from The Scenic Route 6x6 Paper Pack and cut two sides at a 1/4 of an inch.

Take your Slimline Hills Die and cut at least 3 strips of paper for your snow drifts.

Pick out all of the colors that you are going to use for your reindeer.
This is the perfect time to use your scraps of colored card stock!

I keep all of my pieces in separate piles by color on a white piece of paper. This makes it easier to find what your looking for and keeps you from loosing any small pieces.

Now play with the placement of the snow drifts. I added pine trees with the Evergreen Forest die. I cut the trees out with black card stock to make them seem like they were in the background and it also gives the card dimension.

At this point you can glue down your trees and snow drifts. After you have it glued down flip you panel around and cut off the extra white card stock.

I die cut the tree and presents from the 6x6 Winter Animals Paper Pack to give the card some more interest.

I wanted the reindeer to pop off of the page so I added glue to the bottom and added two pieces of foam adhesive tape.
Take a piece of white card stock and stamp your Merry Christmas sentiment then cut it out so that you have a tiny bit more than an 1/8 of an inch all around it.
Then take a piece of black card stock and mat your sentiment. Cut it about an 1/8 of an inch bigger than the sentiment. Adhere the completed sentiment to your card panel with foam adhesive.
You will also want to mat your panel with all of your die cuts. I used black card stock as well and cut it about an 1/8 of an inch bigger.
We are making a 5 1/2 x 5 1/2 inch card. To get your card base take a 110lb piece of white card stock and cut on the 8 1/2 inch side at 5 1/2 inches.
Now score on the 11 inch side at 5 1/2 and this will give you your card base.
Now adhere your completed card panel to your card base and your card is done!


Now you have an adorable Christmas Card! It's not that hard to make a dimensional card when you break it down into sections.
Here are the links to the products I used to make this fun card. Some of my links are affiliated. This is to help me to restock the basic card making supplies so that I can continue to make fun cards for you to recreate!


Below are links to my Social Media pages and links to Rubbernecker Stamps Facebook page and shop.
I'm on:
Facebook at Dawn G Designs
Instagram at DawnGDesigns
Pintrest at Dawn G Designs
Here is the Link to the Rubbernecker Stamps Fan Group page on Facebook.
Here is the link to the Rubbernecker Stamps Store.
Thank you so much for stopping by! I hope to catch you on my next post!
Crafty Hugs,Dawn


Comments
Post a Comment