Vitamin Sea Stamp and Die Set - Rubbernecker Stamps - Live a Life of Endless Wonder Card
Hello Everyone! Thank you so much for stopping by my blog! I hope you get some inspiration and pick up some new techniques.
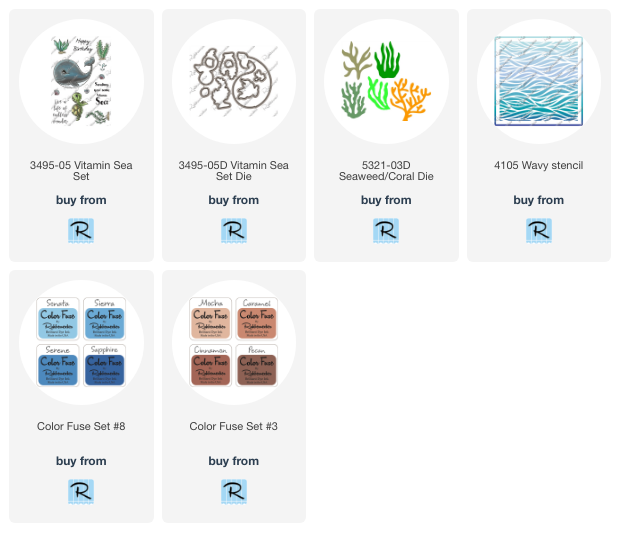
This month for the Rubbernecker blog the theme is Summer. So I decided to use the Vitamin Sea stamp and die set.
This card was a lot of fun to design, color and put together and I hope you have just as much fun. Below you will find detailed instructions.


- First thing I did was stamp my images with my stamp press on Copic safe paper. I use Copic X-Press It paper.
- Quick tip is when you use your stamp press you can stamp it three times to get a crisp stamp line.
- This is the Copic combinations I used - Whale - T8 T6 T4 T2 T0. For the cheeks I used - R20 R30.

- I then went over the dark grey with Copic marker BG01 and the light grey with Copic marker BG00.

- Stamp out your sea shells with your stamp press.
- I used the following Copic markers to color the shells: Yellow - BV31 Y38 Y15 Y02 - Purple - YG95 RV29 RV19 RV66.

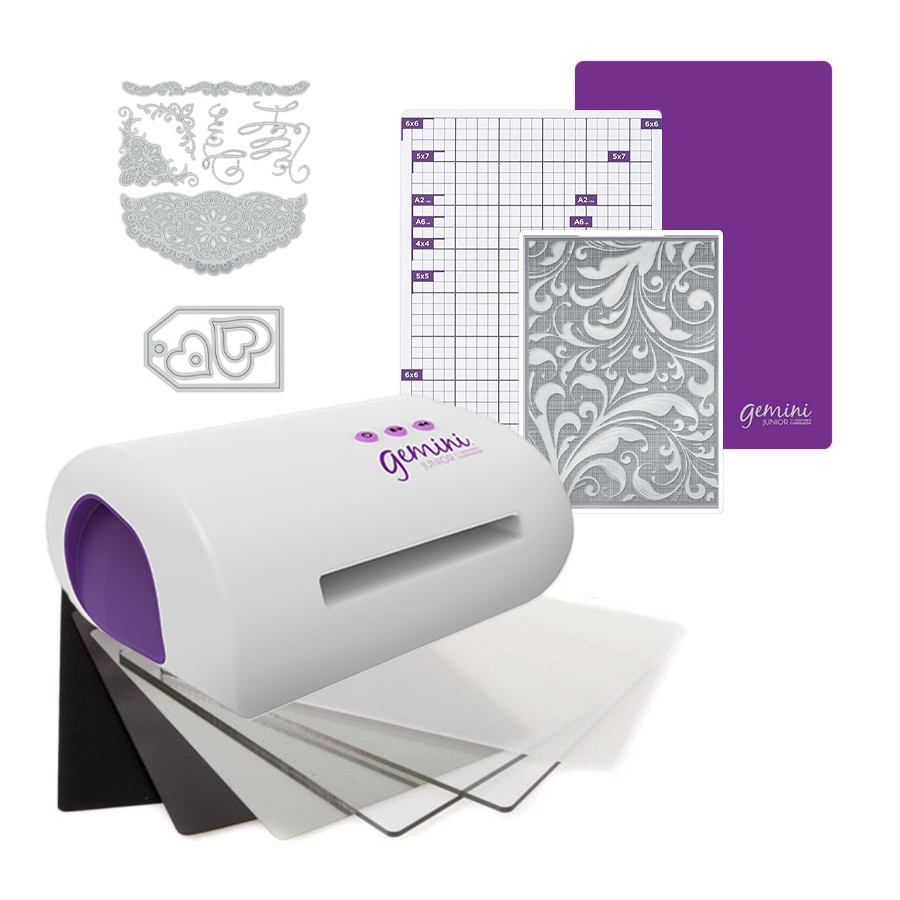
- I then die cut with the Seaweed/Coral Die with my Gemini Jr.

- This is the Copic combinations I used to color the Seaweed and Coral.
- Coloring your die cuts makes a huge difference on your cards.
- Orange - W5 E09 E08 YR16
- Purple - YG95 RV29 RV19 RV66
- Green - YG67 YG17 YG03
- Yellow - BV31 Y38 Y15 Y02

- Cut a piece of white card stock at 4 x 5 1/4.
- Then take your Wavy Stencil and lay it on top.
- I find the best way to use stencils is with my Make Art Station because the magnets hold it tight so that it doesn't move.
- Start with Color Fuse Sonata and lightly add color until your happy with the way it looks.
- Remember to leave room for your sandy bottom.

- Then take your Color Fuse Sierra and go over top of the Sonato lightly until your happy with the color.
- Using two different colors gives you so much more depth than one color.
- Using one color will sometimes look flat.

- Now lift up your stencil and you can clean and put it away.
- It's time to add the sandy bottom.
- Using your lightest color, Mocha add the ink with your brush until you are happy with the depth of color.

- Now it's time to add your darker color, Carmel, to your sandy bottom.
- Blend it on until your happy with the color.

- To add some interest to the sand I add E55 and E53 with the chisel end of the marker, in groups in different spots.

- Stamp out your sentiment and mat it with white card stock.
- Now it's time to start playing with your die cuts to see where you want to place them on the final card.
- Remember to take a picture so you don't forget where you have everything laid out.
- All that's left is to adhere them to you card.

- I went ahead and matted the image base.
- Cut a piece of coordinating card stock at 4 1/8 x 5 3/8
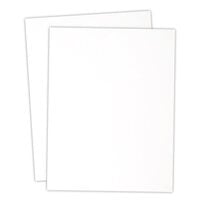
- Your card base will be white and I suggest you use 110 lb card stock for this.
- You will cut a 8 1/2 x 11 inch sheet of 110 lb card stock on the 11 inch side at 5 1/2. This will give you two 4 1/4 x 5 1/2 inch card bases.
- Then take your card base and place it on the 5 1/2 side of your score board and score at 4 1/4.
- Then burnish your card and you will have your card base.

I had a lot of fun putting this card together and I hope you do too! Below you will find links to all of the products I used to make this card.
Below are links to the products that I used to make this card.


110LB Card Stock Neena Solar White
I order all of my Copic's and Refills from
Violeta Ink donates a portion of every purchase to Crafts for Paws.
Cardstock ~
Image Paper ~ Copic X-Press It Coloring Card
I'm on:
Facebook at Dawn G Designs
Instagram at DawnGDesigns
Pintrest at Dawn G Designs
Here is the Link to the Rubbernecker Stamps Fan Group page on Facebook.
Here is the link to the Rubbernecker Stamps Store.
Thank you so much for stopping by! I hope to catch you on my next post!
Crafty Hugs,
Dawn


Comments
Post a Comment