Summer Penguins Stamp and Die Set - Rubbernecker Stamps - Square Card
Hello Everyone! Thank you so much for stopping by my blog! I hope you get some inspiration and pick up some new techniques.
This month for the Rubbernecker blog the theme is Summer. So I decided to use the Sumer Penguins Stamp and Die set.
This card was a lot of fun to design, color and put together and I hope you have just as much fun. Below you will find detailed instructions.
- First thing you want to do is stamp out your images on Copic safe paper. I use Express-It Copic Card.
- For Copic safe ink I prefer Gina K Amalgam ink.
- When you stamp your images make sure you leave room for your dies.
- Listed below are the Copic combinations I used to color the penguins.
- Black - W10 W8 W6 W4
- White - C5 C3 C1
- Yellow - BV00 Y38 Y35 Y23
- Below you will find the list for the pink flamingo.
- Pink - BG01 RV09 RV06 EV02
- Green - BV13 G05 YG23 YG21
- After you are done coloring you can cut out your images with the dies.
- I use Washi tape to hold my die's in place.
- The trick with the Washi tape is to take some of the stickiness off by tapping it to the back of your hand one time and that will keep it from tearing your paper after it goes through the die cutting machine.
- While I had my black ink and Misti out I decided to stamp my sentiment using Kittie Says Summer stamp set.
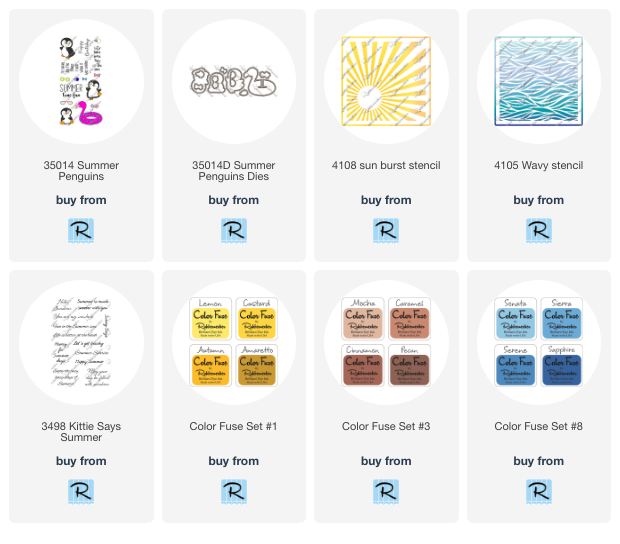
- There are links to all that I used listed below.
- Cut a piece of white card stock at 4 3/4 x 4 3/4.
- Using your Wavy Stencil start inking the lower half of your mat with the Sonata first then the Sierra.
- Remember you have to add a beach and a sky so leave plenty of room.
- For the next layer you don't need a stencil.
- First use Mocha then Carmel to add some depth to your beach.
- Ink slightly over you water and above but leave room for your sun and sky.
- To add the sky peaking through the rays of sunlight I used Color Fuse Sonata.
- I use a #10 white pen to add lines that looks like the waves are crashing on the beach.
- I also added some white dots on the waves to make it look like they are sparkling.
- To add some texture to the sand I use Copic markers E55, E53 and E50 by adding some dots.
- Then take your white pen and add a few more.
- I added a color card stock mat cut at 4 7/8 x 4 7/8.
- My card base is 5 x 5.
- All that is left to do is add your die cut elements and your card is done!
There are links to all of the products I used listed below.

I order all of my Copic's and Refills from
Violeta Ink donates a portion of every purchase to Crafts for Paws.
Cardstock ~
Image Paper ~ Copic X-Press It Coloring Card
I'm on:
Facebook at Dawn G Designs
Instagram at DawnGDesigns
Pintrest at Dawn G Designs
Here is the Link to the Rubbernecker Stamps Fan Group page on Facebook.
Here is the link to the Rubbernecker Stamps Store.
Thank you so much for stopping by! I hope to catch you on my next post!
Dawn


Comments
Post a Comment