Hello Everyone! Thank you so much for stopping by my blog! I hope you get some inspiration and pick up some new techniques.
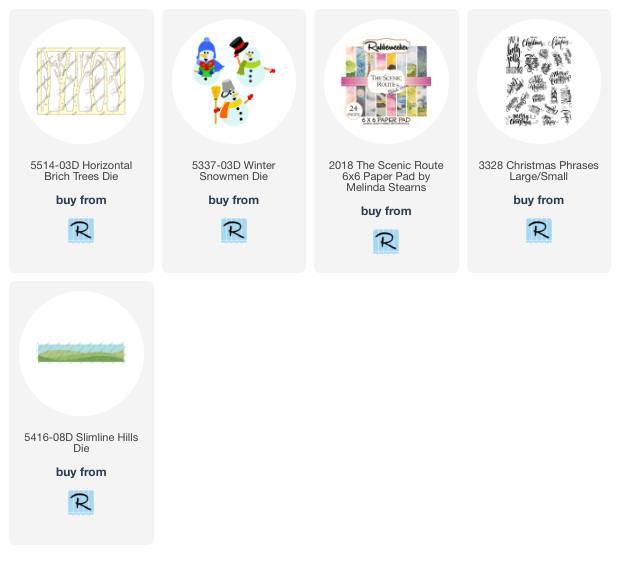
When I saw this Snowmen die set, from Rubbernecker Stamps, I thought "I have to have it!" In my mind I saw a wintery scene with snowbanks and trees. I'm so very happy that my idea in my head worked out into a card.
I have given you detailed instructions on how to recreate this card below. Enjoy.
The first step I took was to cut out all of my die cuts in the different colors I was going to use. I keep them on a white piece of paper so they are all together and easy to see.
I used tweezers and a glue with a precision tip like Art Glitter Glue.
On the one snowman I wanted to add some interest to his hat and scarf so I used a White Gel Pen #10.
Here they are in all of their cuteness!!!
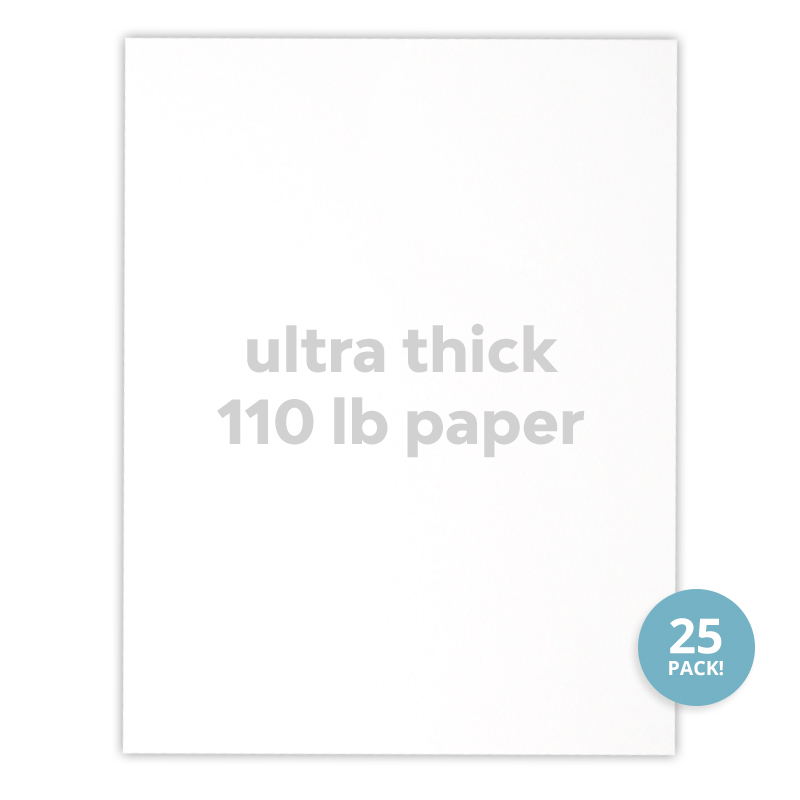
Now we are going to move onto the Horizontal Birch Trees Die. I cut it out with 110lb white card stock. I used the heavier card stock as to make it sturdier and easier to use.
Now you're going to put some lines on the birch trees to give them a "realistic" look. I used my Copic Sketch Marker E44 for the lines but you can use any brown marker or pen that you have. You want to do the lines randomly as nature is not uniform in anything.
Now you're going to use some foam adhesive and add it to the back of the die. This will give it some dimension so that the card doesn't look flat.
Moving onto the next step I cut out a couple of hills using Rubbernecker's Slimline Hills Die.
I then used 6x6 paper from The Scenic Route for my background. I cut it to the dimensions of the birch die. I then laid out my snow drifts to see where I wanted to place them.
When I was happy with the layout I went ahead and glued them down.
It is easier to glue them down before you cut them down to size. That way you don't cut them too short.
So when your pieces are glued down go ahead and flip it over and using the side of the background paper cut off the snow drifts.
Now your have perfectly cut snow drifts.
Now you are going to adhere your birch tree cut out on top of your background paper and snow drifts.
Then using the Merry Christmas Large/Small stamp set I stamped out my sentiment and cut it out in a circle then I used a piece of color coordinating card stock to mat the sentiment.
Using some more foam adhesive on the back of your snowmen adhere them down on top of your birch tree die.
Taking the same color card stock that you used to mat your sentiment cut it an 8th of an inch larger then your birch tree die and adhere to the back of your background paper then adhere that to your 4 1/4 x 5 1/2 inch card base.
Now you have an adorable Christmas Card! It's not that hard to make a dimensional card when you break it down into sections.
Here are the links to the products I used to make this fun card. Some of my links are affiliated. This is to help me to restock the basic card making supplies so that I can continue to make fun cards for you to recreate!
Below are links to my Social Media pages and links to Rubbernecker Stamps Facebook page and shop.
I'm on:
Instagram at DawnGDesigns
Thank you so much for stopping by! I hope to catch you on my next post!
Crafty Hugs,
Dawn


Comments
Post a Comment