Laughing Snowmen Clear Stamps - Christmas Card with Snowmen
Hello Everyone! Thank you so much for stopping by my blog! I hope you get some inspiration and pick up some new techniques.
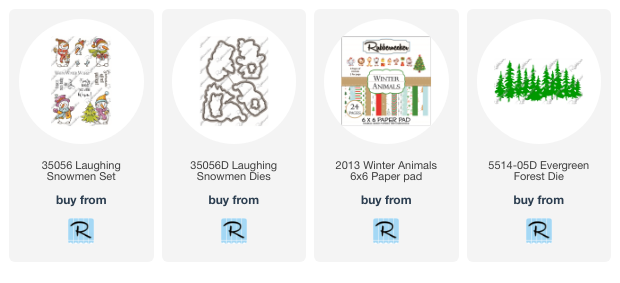
Today is New Release Day at Rubbernecker Stamps! I'm showcasing these adorable Snowmen from the Laughing Snowmen Set. It's never to early to start your Christmas Cards!!!
This card was a lot of fun to design and put together and I hope you have just as much fun if you decide to make it. Below you will find detailed instructions.


White ~ C5 C3 C1 C00 and Colorless Blender
Red ~ R59 R46 R35
Blue ~ BG09 BG07 BG02 BG01 BG000
Gold ~ Y28 Y23 Y15 Y11
Black ~ 100 W8 W6
Green ~ G29 G46 G82 G43
Orange ~ YR09 YR68 YR15
After you have colored them use the coordinating dies to cut them out.
Using the Winter Animals 6x6 Paper Pad I cut out different sized pieces and the mats to give my card added layers. I will give you the dimensions from the base of the card up.
5 1/2 x 4 1/4 inch Card Base
Red Mat 5 3/8 x 4 1/8
Patterned Paper 5 1/4 x 4
Red Mat 4 7/8 x 3 5/8
Patterned Paper 4 3/4 x 3 1/2
Red Mat 1 7/8 x 5 1/2
Patterned Paper 1 3/4 x 5 3/8
Red Mat 3 7/8 x 2 1/2
White Card Stock 3 3/4 x 2 3/8

On your white card stock add some sky using B00 then go over it with B0000 to fill in the white. Remember you are only going halfway down the paper so leave room for your ground.
It doesn't have to be perfect because your focal points will be stealing the show.

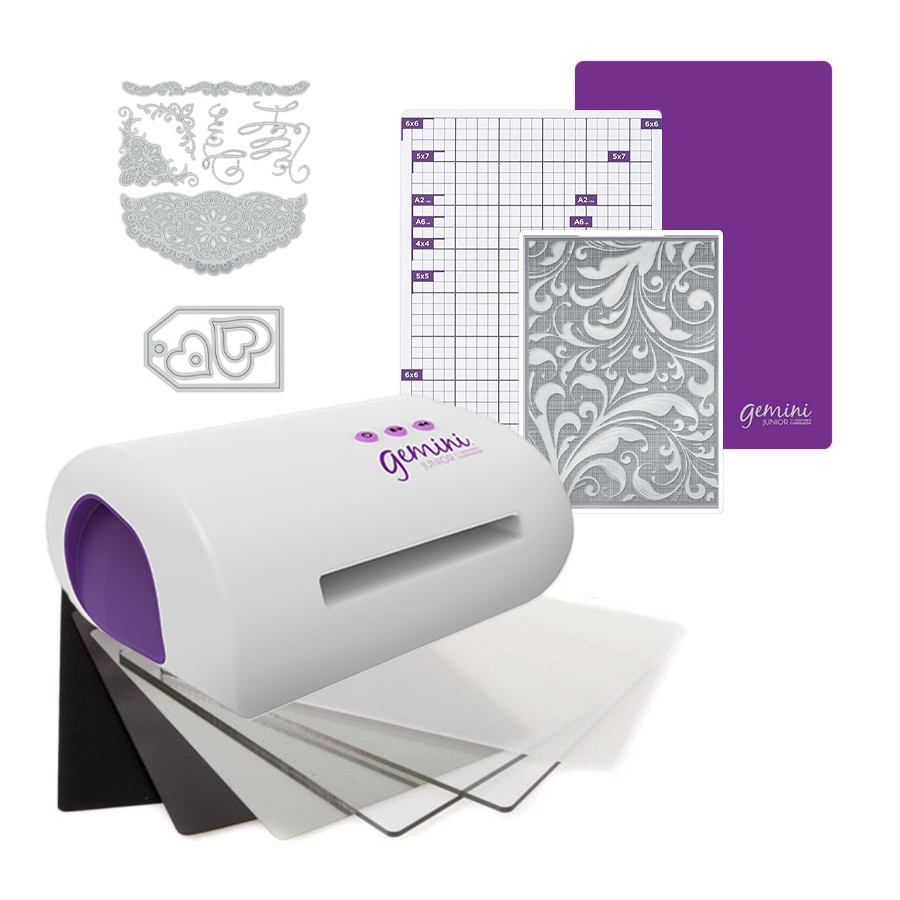
Now you will take some green card stock, or white if you prefer, and using the Evergreen Forest Die place your card stock over the die and run it through your machine.

Using some dimensional foam tape place it on the bottom of the die. This will give your card some dimension.

Place it on your white card stock.

This view shows you the dimension that you will have.

Now you will want to add some shadowing under your trees using C1. This also doesn't have to be perfect you are only giving the illusion of shadows.

Flip your base around and cut off the excess trees.

Add dimensional foam tape to the back of your snowmen and bunny and adhere them on. Don't forget to give them shadows as well.
Stamp out your sentiment cut it out and mat it and adhere to your card.
Adhere all of your layers onto your card base and your done!
I hope you make this card. It isn't hard when you break it down in steps.
Below you will find all the products I used and there links for this card.
Thank you so much for stopping by! I hope to catch you on my next post!
Crafty Hugs,

Comments
Post a Comment