Happy Birthday Balloons Set - Rubbernecker Stamps - Birthday Card
Hello Everyone! Thank you so much for stopping by my blog! I hope you get some inspiration and pick up some new techniques.
It's Rubbernecker's birthday month so the theme this month is "Birthday".
There are just certain stamps that I get so excited to use and Bicycles is one of those stamps. When I saw the Happy Birthday Balloons Set I just knew I had to make a scene card with the Balloons flying off of the back of the bike!
Here is my completed card. Below you will find step by step instructions.


- Stamp out your images on Copic X-Press It paper with Memento Tuxedo Black ink using your Misti or other platform stamper.
- Color your images with alcohol markers of your choice. I use Copic's and the color combinations are listed below:
- Yellow BV000 Y19 Y17 Y15 Y13
- Red B63 R29 R27 R35
- Blue B27 B24 B23
- Tires W7 W4

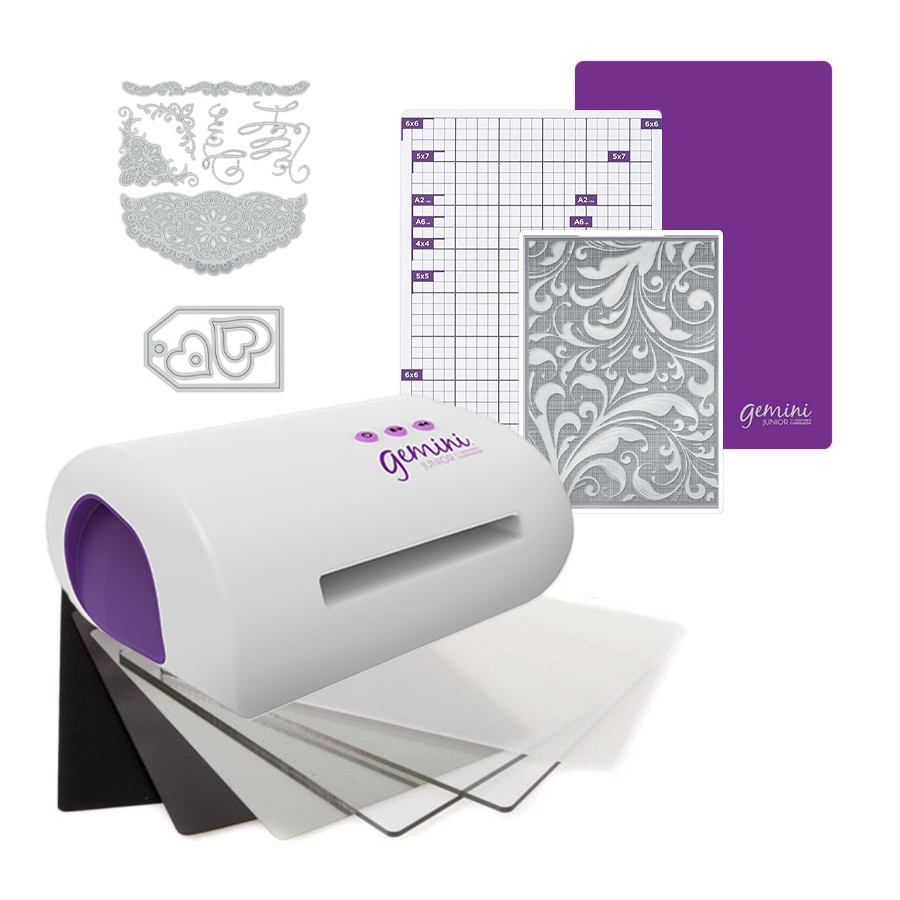
- Cut out your images with your die cutting machine using the coordinating Balloons and Bike Die. I used the Gemini Jr.


- Use three different shades of green for your hills and use the Slimline Hills Die with your die cutting machine.

- Use a white piece of card stock and use the Slimline Clouds Die with your die cutting machine.

- Cut a piece of card stock measuring 8 3/8 x 2 7/8
- For the sky I used Color Fuse Arctic and Color Fuse Sky.
- Ink Color Fuse Arctic on first and cover most of the card stock then come in with the Color Fuse Sky and ink only some places as shown above.
- Before you ink your paper rub a little on your mat that will take off any excess ink and then you will have a smooth blend.

- Cut out colored card stock with the Cloud Tree Die, Tulips Tops Die and Tulip Stems.
- Take your hills and and glue them together then lay it on your inked card base to see how high you want the hills to go then mark where you will need to cut it so that it is flush with the bottom. At this point glue the hills onto the inked card base then trim off the sides.
- Do the same process with your cloud cut out.
- Play around with the placement of your elements to see what you like the best.
- Take a picture to remember your layout when you take it apart to glue everything down.

- I popped up the sentiment, bike and balloons to give it a more dimensional look.
- After you have all of your elements glued down then adhere the inked base to your card base.
- For your card base you will need 110LB card stock cut at 8 1/2 x 7. Score at 3 1/2 on the 7 inch side and that will give you your card base.
I had a lot of fun putting this card together and I hope you do too! Below you will find links to all of the products I used to make this card.
I buy all of my Copic Markers and Refills from
Violeta-Ink.com. Violeta Ink donates a portion of every purchase to Crafts for Paws.


110LB Card Stock Neena Solar White
Thank you so much for stopping by! I hope to catch you on my next post!
Crafty Hugs,
Dawn


Dawn fabulous design, and love the happy balloons behind the bike here x
ReplyDeleteThank you so very much Annie!
Delete